08 Best Yoga Stretches to Do Every Day to Ease Stiffness and Pain: Know that yoga can be done by anybody given the proper modifications. And it can also be practiced in the comfort of your own home. If you’re experiencing pain or stiffness, know that yoga is for you, too—and it can even help you find relief.
So, there’s never been a better time to start stretching. The poses below are some of the most common positions you’ll find in yoga flows, whether you’re in a class or at home.
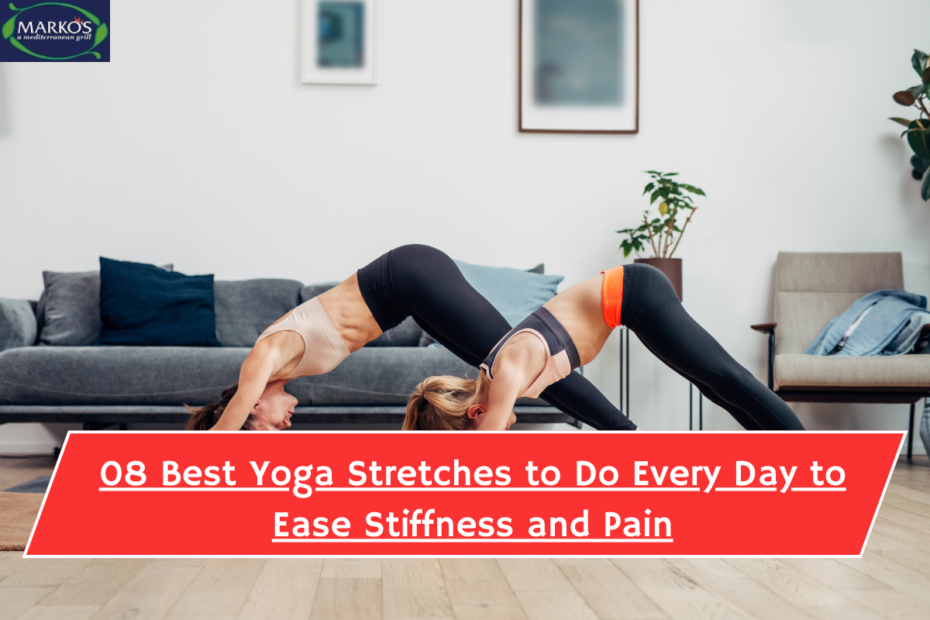
08 Best Yoga Stretches to Do Every Day to Ease Stiffness and Pain
1. Downward Dog
Downward Dog – How to start
- Start in a tabletop position with your hands beneath your shoulders and your knees beneath your hips.
- Inhale. Exhale and lift your knees off the floor, positioning your hips toward the ceiling.
- Reach your heels to the floor and straighten out your knees as much as you can without locking them up.
- Press through your fingertips and keep your head between your arms as you gaze between your calves.
-
This pose—one of the most common in yoga—is an excellent morning stretch.
-
You’ll open up the shoulders, hamstrings, and calves as well as the arches of your feet.

08 Best Yoga Stretches to Do Every Day to Ease Stiffness and Pain
Benefits of Downward Dog
- Down dogs also help to strengthen your shoulders and upper back.
- And by bending so that your heart is over your head, you’ll increase blood flow to the brain—a great way to kickstart alertness in the early morning hours.
2. Child’s Pose
Child’s Pose – How to do it
- Start in a tabletop position.
- Touch your big toes together.
- Then sit back on your heels and put your torso on your thighs.
- Place your arms straight in front of you with your palms facing the floor.
- This will help open up your hips.